


A consistent design is an important part of a professional presentation. Slides must have the same theme throughout the presentation, and all objects need to be aligned and arranged perfectly. How to align shapes in PowerPoint for a smooth appearance?
You can arrange and align different objects, shapes, and other elements of slides easily. Let’s say you have four different shapes in a slide; arranging them one by one will take time. Is there any quick way to align all shapes with a single click?
Align Shapes in PowerPoint
PowerPoint is a powerful yet somehow complicated tool for making amazing presentations. There are shortcut keys, direct options, and other features to make slide designing smoother for the users. Aligning objects and shapes in PowerPoint is the same. In the later sections, we will also learn how to align or arrange pictures in PowerPoint.
For now, let’s focus on aligning shapes and objects in PowerPoint. We have four different objects in the slide that are misaligned and arranged at different positions. We will align them easily. Just follow these steps.
Step 1: Open PPT and Select Objects
Open your PowerPoint presentation and navigate to the slide with the misaligned objects or shapes. You need to align objects for one slide at a time.

You can drag the mouse to select all objects or hold Shift and select the objects that you want to align.
Step 2: Arrange Selected Objects
Once all objects on the slide are selected, go to the Drawing section in the Home tab. Click Arrange, and a dropdown menu will appear.

Hover your mouse over the Align option, and further options will appear to align the objects at different positions.
Step 3: Align Objects
There are different alignment options that you can choose. For this example, we chose “Align Top,” and you can see that all selected objects are aligned at the top.

If you don’t know what these different alignment options mean, here is an overview of the different alignment options available in PowerPoint:
| Option | Description |
| Align Left | Aligns objects along their left edges |
| Align Center | Aligns objects vertically through their centers. |
| Align Right | Aligns objects along their right edges |
| Align Top | Aligns objects along their top edges |
| Align Middle | Aligns objects horizontally through their middles. |
| Align Bottom | Aligns objects along their bottom edges |
Warning: Alignment Options Not Available
Some users may not find the alignment option in the Drawing section. If you are also experiencing the same error, make sure that more than one object is selected.
The alignment feature only appears when the user has selected more than one object. Try these steps with different objects selected on the same slide and see if the issue is resolved.
How to Arrange Shapes at Equal Distance?
When you arrange or align shapes as shown above, you might have noticed that the shapes are aligned at the top, but the distance between the objects is uneven. They are not positioned at an equal distance from each other.
Do you want to place selected objects at an equal distance from each other? For equal distribution to work, the user needs to select at least three objects. In this example, we have four different objects that are aligned at the top but not equally distant.
Follow these steps on how to arrange shapes and objects at an equal distance from each other. This step also makes objects in a slide more consistent and appealing.
Step 1: Select Objects on your Slide
Select the objects that you want to arrange and align them at the top or the bottom. As we have already aligned them at the top, we can see that the uneven distance makes them look cluttered.

Step 2: Go to Shape Format and Align
Once all objects and shapes are selected, go to the Shape Format tab and click the Align button. From the dropdown menu, choose “Distribute Horizontally” or “Distribute Vertically.”
We chose the horizontal option, and now you can see that all objects are equally distant from each other, giving a more refined and cleaner feel.

How to Align Pictures in PowerPoint?
We have already learned how to align shapes in PowerPoint, but what do we do with the misaligned pictures and images in the PowerPoint presentation? It is easy to align pictures in PowerPoint; the steps are quite similar to aligning or arranging the shapes.
Step 1: Select all pictures that you want to align, and once pictures are selected, go to the Picture Format tab and select the Align option as shown in the image below.
Choose the desired alignment option, and your pictures will be aligned at the top or bottom as desired.

Step 2: To arrange pictures at equal distance, go to Picture Format tab >> Align >> Distribute Horizontally and your pictures will be arranged at equal distance from each other.
How to Bypass the Presentation Designing?
Not everyone has a creative mind for making attractive PowerPoint presentations. Even if your idea is awesome, a poor presentation can impact the outcome of your project. Are you frustrated with the same manual ways to create presentations in PowerPoint?
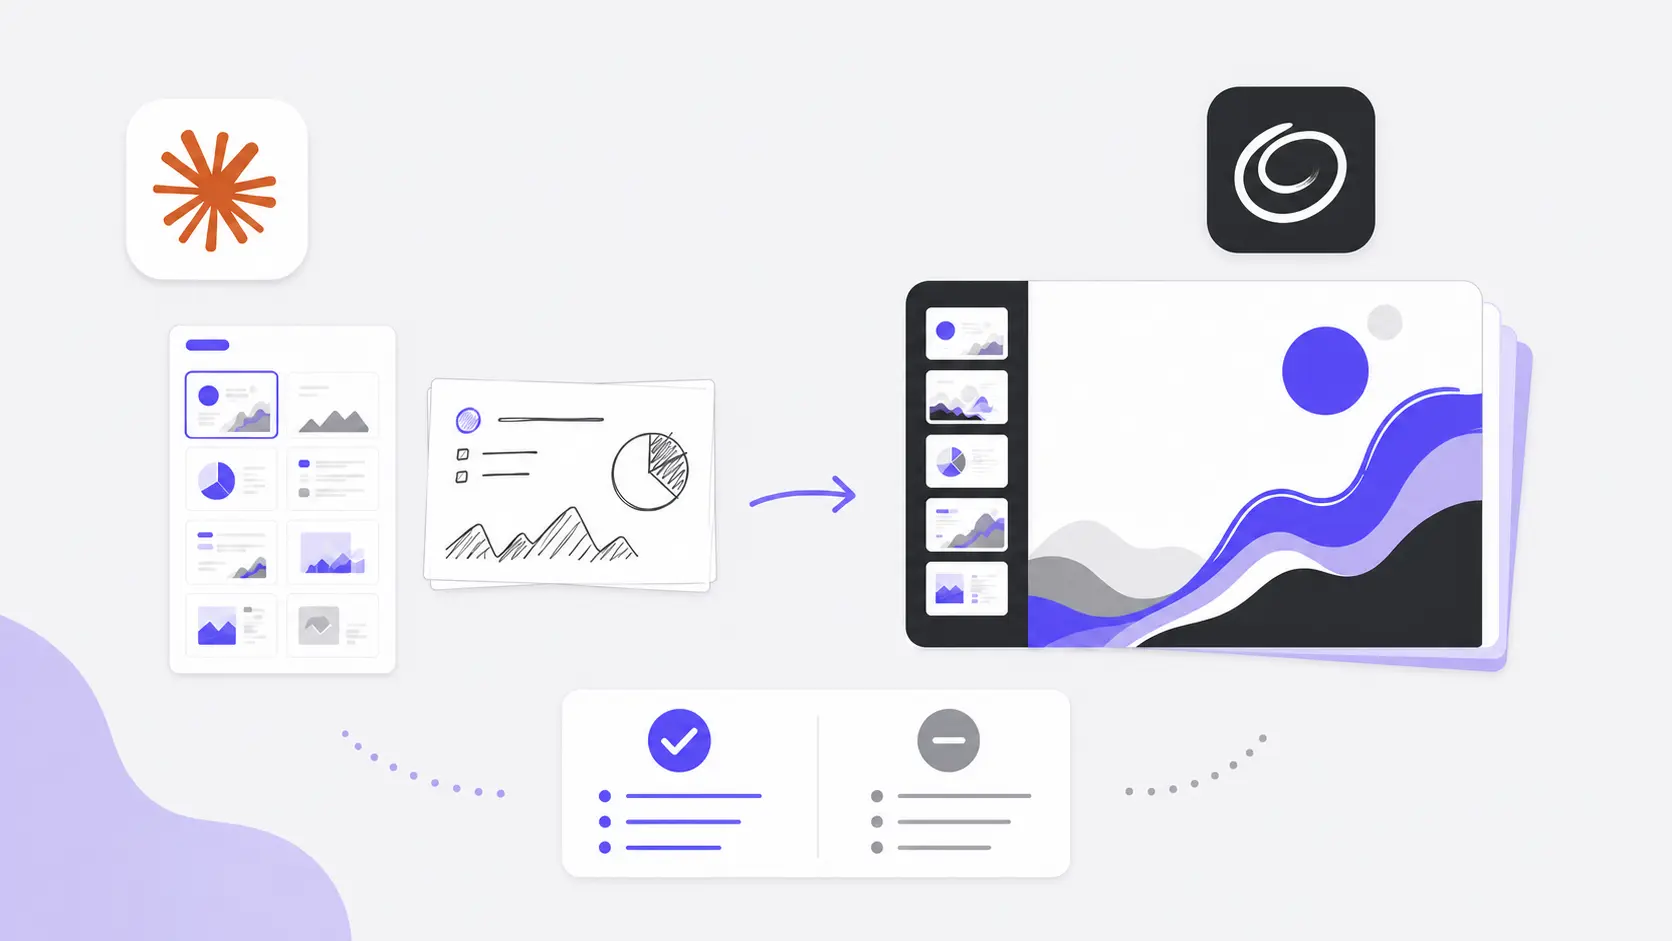
Try Twistly, a revolutionary AI add-in for PowerPoint, that can turn any topic into an engaging presentation. Users don’t need any design or PowerPoint experience to use Twistly.
It works inside PowerPoint, so you still have access to all PowerPoint tools and features, making Twistly equally useful for beginners and professional users.
Create PowerPoint
Slides with AI
Build AI-powered presentations from
any prompt, doc, or video


Final Words
Learning how to align shapes in PowerPoint can give better aesthetics to your slides, or you can use Twistly for automated designing and formatting. Even in this age of technology, there are no other alternatives to PowerPoint. AI presentation makers cannot replace PowerPoint. That’s why we created Twistly, not to replace PowerPoint but to empower it.
Try Twistly for free with the trial version, and once you have experienced its true potential, you won’t think twice about going back to manual ways of making PowerPoint presentations. Enjoy your own ChatGPT for PowerPoint.


Start Making AI Presentations in Seconds
Instant Access
Begin exploring Twistly’s full suite of features immediately
No Commitments
No credit card required, and you can cancel anytime
Dedicated Support
Our team is here to assist you every step of the way during your trial.